Recessed lights over a counter or island are among the most effective methods to cheer up a dark or shadowy kitchen. An excellent collection will certainly give you lots of light to cut meat as well as veggies safely. Like any task that calls for dealing with electrical energy, you'll require to take a few preemptive actions to make sure the safety and security for everyone close by. Whether remodeling or brand-new building, here's what you need to learn about mounting recessed lights in your home.
- Start with an illustration and also end with illumination similar to this.
- I will certainly take you just how to install recessed illumination which sometimes can be referred to as canisters, pot lights or high hat lights.
- The order in which you wire the containers is useless, yet you need to always wait to connect the circuit to the panel up until the rest of the electrical wiring is total.
- However, I currently had an electrical expert re-wiring the whole kitchen, so I'm not sure how much that was independently.
- Push the wires into the renovation Additional hints box and also identify them.
After that press the four tabs with the lighting fixture until they sit flush versus the canister. 2) Once you have picked the location of your lights, remove the paper template from the recessed can packaging. Trace the circle onto the ceiling in every place where you will be installing a light. Any kind of do it yourself with electricals need to be come close to with caution.
Step 2 Drill The Significant Openings For Each And Every Place In The Ceiling
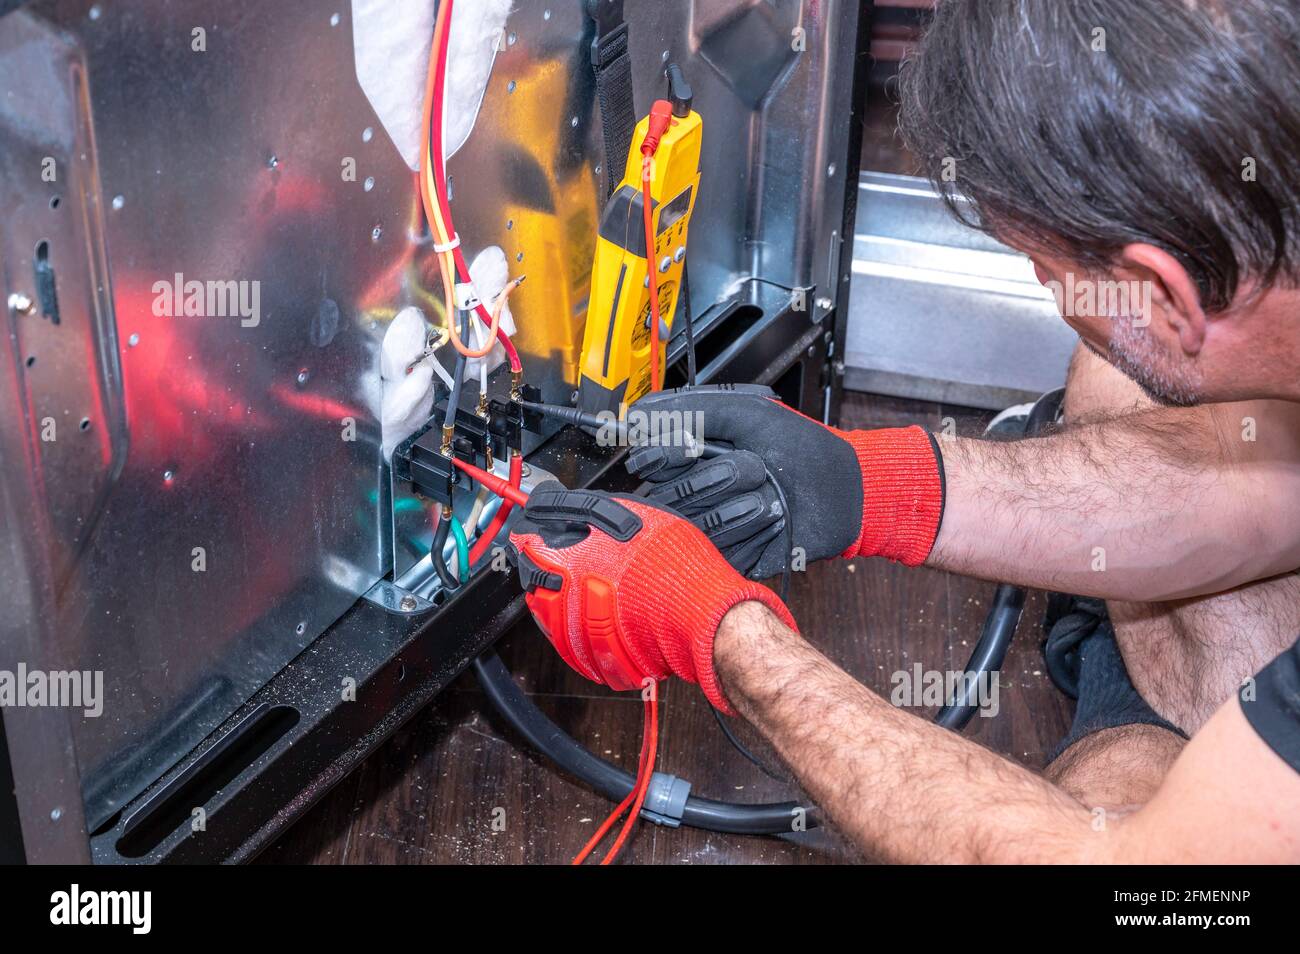
Also if you're experienced in circuitry light fixtures, mounting recessed illumination features some difficulties that may be best left to an expert. Some lights call for a transformer to deliver a stepped-down circulation of electrical power. Others might call for unique IC-rated housing, which shields against electric fire if it's being placed in the ceiling together with insulation. As a matter of fact, local code may mandate using an IC rated component, something an electrician will certainly be up on. Some cities even need an authorization for a recessed illumination installment. A recessed light, in some cases called a can light, has both its housing and bulb recessed above the ceiling drywall.
After that use a crucial opening saw to start cutting from the hole as well as around the mapped circle. Remove the face plate of a neighboring electrical outlet or joint box for the light button and light. Separate the electrical outlet as well as the electric box by getting rid of the screws to expose the cords. If you have a junction box, after that pull cords from it rather.
Just How To Wire Recessed Lights Tabletop Go Through
Consisting of housing, trim and lamp, the ordinary expense of each component has to do with $100. Set up a brand-new makeover box at the old electrical outlet area. Attach the brand-new cords to the power source, after that reconnect the outlet. Toenail up conventional "brand-new work" housings in open ceilings.
Open the recessed lighting component's junction box and also run the cabling right into package. For a BAZZ recessed lights installment, link the black wire to the coloured wire, white to white and also bare copper to bare copper wire. A cord clip is recommended to maintain the cords in place.
Next off, you will certainly intend to make a decision if you need an insulation housing or otherwise. For example, our first story retrofit did not utilize an insulation real estate due to the fact that it's not covered by insulation in between the two tales. Nevertheless, the second story recessed illumination housing is covered in insulation in the attic, so it needed the insulation-style real estate. Return to the attic room and also location each real estate, making sure to fit the can into the opening cut in the last action. Extend bench hangers to the joists on either side of the fixture as well as make use of the hammer to connect the hangers to the joists.
If you do not wish to utilize a flex bit to drill holes, after that you can cut slots in your completely dry wall where the ceiling joists are You can quickly press the cables throughout the ceiling by doing this without needing to get a flex little bit for this work. If you fit patching completely dry wall, this may be the best option for you. Locate the source of power-- With any luck you have an existing light in your ceiling whether it is a component and even track lighting. If so, you will just spot into that spot where the current component is located. Then you will certainly run your cords from there and afterwards cap that receptacle for safety and security.